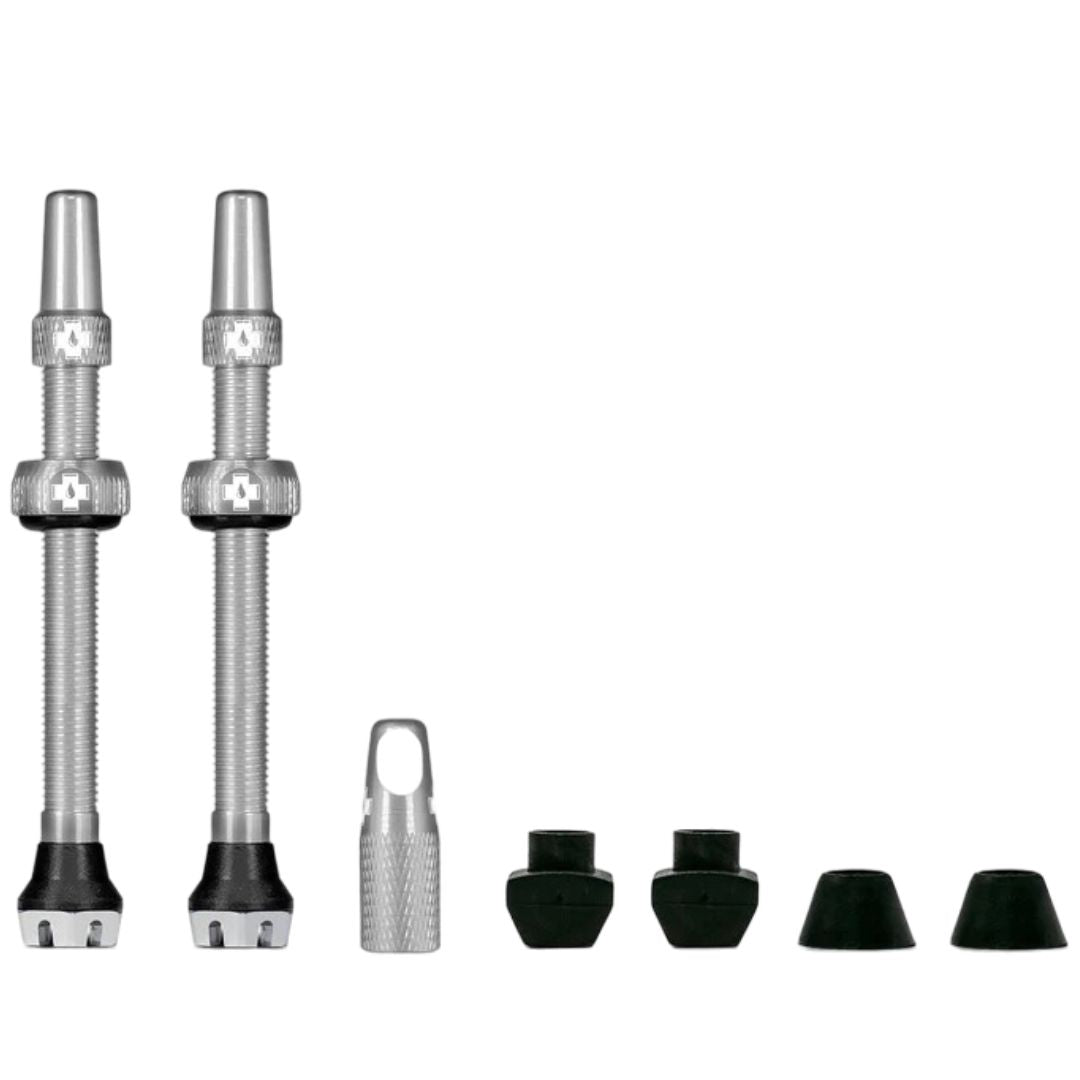
Muc-Off introduces the V2 Tubeless Valves with a new airflow system for the tire inserts. With 6 slots machined into the base of the valve stem which allows them to be compatible with most tubeless tire inserts and allows your tubeless sealing fluid and air to flow freely when using tubeless tire inserts. They've also been upgraded to aircraft grade 7075 aluminum to be lighter and stronger than before!
Supplied with 3 sets of differently shaped rubber inserts to fit a variety of rim shapes and create the perfect rim value seal.
Characteristics:
- Valve stem machined from 7075 aluminum
- Cap machined in 7075 aluminum
- 4mm machined allen key slot for easy installation/removal
- Includes valve core removal tool (built into replacement alloy cap)
- Supplied with various rubber bases to optimize adaptation to different types of rims
- Suitable for MTB, Gravel, and Road
- Only suitable for Presta valves
60mm Presta valve
Silver colour
Muc-Off Tubeless valves work with most tubeless rims. If you are unsure, refer to your rim manufacturer's instructions to see which tubeless valves will work for your rims.
ASSEMBLY INSTRUCTIONS
- First, remove the valve cap, lock ring and o-ring from the valve stem.
- Then choose the correct rubber base for your rim type. Rims with a curved section will use the circular rubber base. Hoops with a square section will use the square rubber base. Groove this down to the base of the valve stem. (If your rim has a larger valve hole and the smaller round base is too wide, use the larger round base to plug the hole)
- Now push the valve stem into the hole in the rim and push it all the way in. Then put the rubber ring 0 on the valve stem and slide it all the way in until it meets the rim.
- Screw the locking ring onto the valve stem and tighten over the o-ring. This sandwiches the lock ring and rim. Firmly push the base of the valve down inside the rim while tightening the lock ring. Keep pushing until the locking ring is finger tight and the rubber o-ring squeezes. That way you know you've created a good air seal.
-
TIP - Do not overtighten as this can cause leaks. Finish by screwing on your favorite valve cap.
- Use the valve core removal tool (integrated into the replacement alloy cap) to remove the core and fill with sealant without the hassle of tubeless puncture and inflation! Job done.